
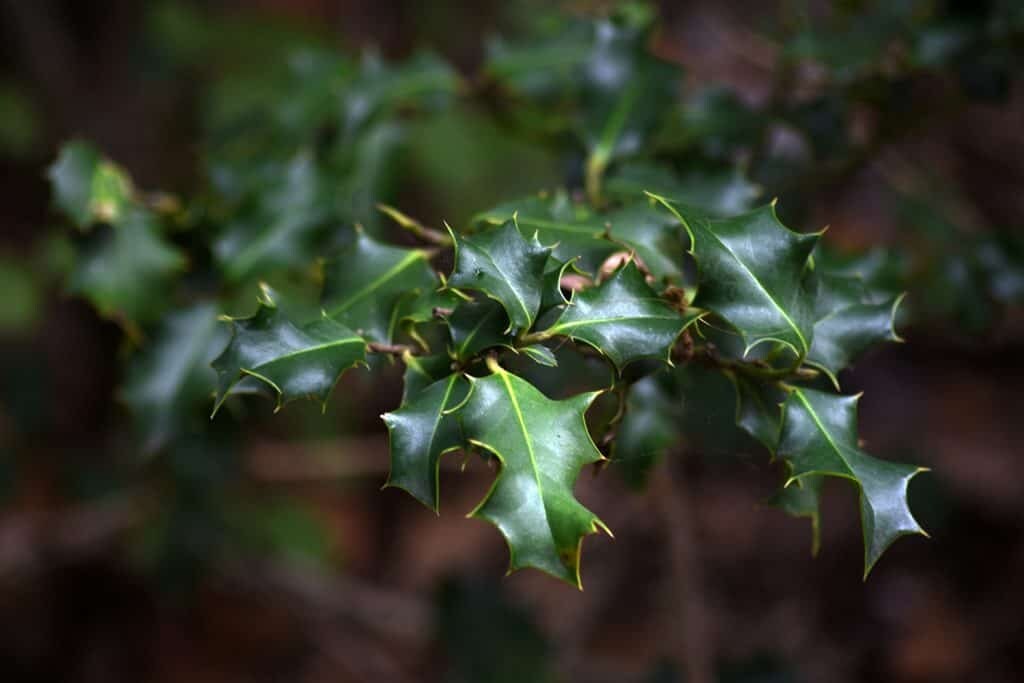
English Holly (Ilex aquifolium) is a popular evergreen shrub known for its glossy green leaves and bright red berries. Propagating English Holly from cuttings is a cost-effective way to grow new plants, and with proper care, these cuttings can develop into healthy, mature shrubs. This guide provides detailed instructions on how to successfully propagate, grow, and maintain English Holly from cuttings.
Selecting and Preparing Cuttings
Best Time to Take Cuttings
- The ideal time to take English Holly cuttings is in late summer to early fall (August to October).
- Semi-hardwood cuttings, which are partially matured stems from the current season’s growth, have the highest success rate.
How to Take Cuttings
- Select a healthy, disease-free holly plant with strong growth.
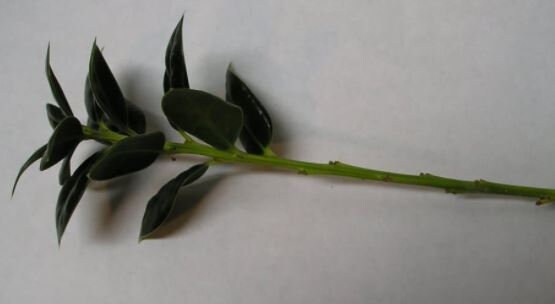
- Use sharp, sterilized pruning shears to take 6–8 inch cuttings from semi-hardwood branches.
- Choose stems with several leaf nodes and remove the bottom leaves to expose at least 2 inches of bare stem.
- Trim the cutting just below a leaf node to encourage root growth.
- Dip the cut end into a rooting hormone to enhance root development.
Planting the Cuttings
Choosing a Growing Medium
- A well-draining rooting mix is essential for successful propagation.
- A mixture of peat moss, perlite, and sand works well.
- Ensure the soil is slightly acidic (pH 5.5–6.5), as English Holly thrives in acidic conditions.
Planting Steps
- Fill a container or tray with the prepared rooting medium.
- Make holes using a pencil or stick and insert the cuttings, ensuring at least one or two nodes are buried.
- Firmly press the soil around the base of the cuttings to hold them in place.
- Water the cuttings thoroughly to settle the soil.
Creating the Ideal Growing Environment
Humidity and Temperature
- Cover the cuttings with a plastic bag or humidity dome to maintain high humidity.
- Place the container in a warm location with indirect sunlight.
- Ideal temperature for root development is 65–75°F (18–24°C).
Light Requirements
- Provide bright, indirect light to promote root growth without causing leaf scorch.
- Avoid direct sunlight, as it can dry out the cuttings.
Caring for Rooting Cuttings
Watering
- Keep the soil consistently moist but not soggy.
- Mist the cuttings daily to maintain humidity.
- Avoid overwatering, as excessive moisture can lead to fungal diseases.
Fertilization
- Do not fertilize cuttings until they have established roots.
- Once new growth appears, apply a diluted liquid fertilizer every 4–6 weeks.
Transplanting Rooted Cuttings
Checking for Root Development
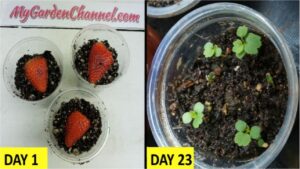
- Rooting can take 8–12 weeks, depending on environmental conditions.
- Gently tug on the cutting after a few weeks; resistance indicates root formation.
Transplanting Steps
- Once roots are at least 1–2 inches long, transplant the cuttings into individual pots with well-draining soil.
- Gradually expose them to more sunlight over time.
- Water regularly to keep the soil moist but not waterlogged.
- Harden off young plants by placing them outdoors for short periods before planting them in the ground.
Planting in the Garden
Site Selection
- Choose a location with full sun to partial shade.
- Ensure the soil is well-draining and slightly acidic.
- Space plants at least 4–6 feet apart for optimal growth.
Planting Steps
- Dig a hole twice the width of the root ball and equal in depth.
- Place the young plant in the hole, ensuring the root ball is level with the soil surface.
- Backfill with soil and gently press down to remove air pockets.
- Water thoroughly after planting.
Long-Term Care and Maintenance
Watering
- Water newly transplanted plants regularly until established.
- Mature holly plants are drought-tolerant but benefit from occasional deep watering during dry spells.
Fertilization
- Apply a balanced, slow-release fertilizer in early spring.
- A layer of organic mulch can help retain moisture and improve soil quality.
Pruning
- Prune in late winter or early spring to shape the plant and remove dead or diseased branches.
- Avoid heavy pruning, as this can reduce berry production.
Pests and Diseases
English Holly is relatively pest-resistant but may occasionally be affected by:
- Holly Leaf Miner: Small tunnels in leaves; control with insecticidal soap.
- Spider Mites: Tiny webbing and speckled leaves; treat with neem oil.
- Root Rot: Prevent by ensuring well-draining soil and avoiding overwatering.
Winter Care
- Young plants benefit from a layer of mulch to protect roots from freezing temperatures.
- In colder regions, consider wrapping plants in burlap to prevent winter burn.
- Established holly plants are cold-hardy and require minimal winter care.
Conclusion
Propagating English Holly from cuttings is a rewarding process that allows you to grow new plants with relative ease. By providing the right conditions—proper soil, humidity, and light—you can successfully root and cultivate healthy holly plants. With continued care, these cuttings will develop into beautiful, evergreen shrubs that enhance your landscape for years to come.
-

White Crown of Thorns Care Guide Euphorbia milii (White-flowered Cultivars)
-

White Columbine Care Guide Aquilegia spp. (White Varieties)
-

White Chiffon Hibiscus Care Guide Hibiscus syriacus ‘White Chiffon’
-

White Candytuft ‘Snow Cone’ (Iberis sempervirens) Care Guide
Proudly powered by WordPress