
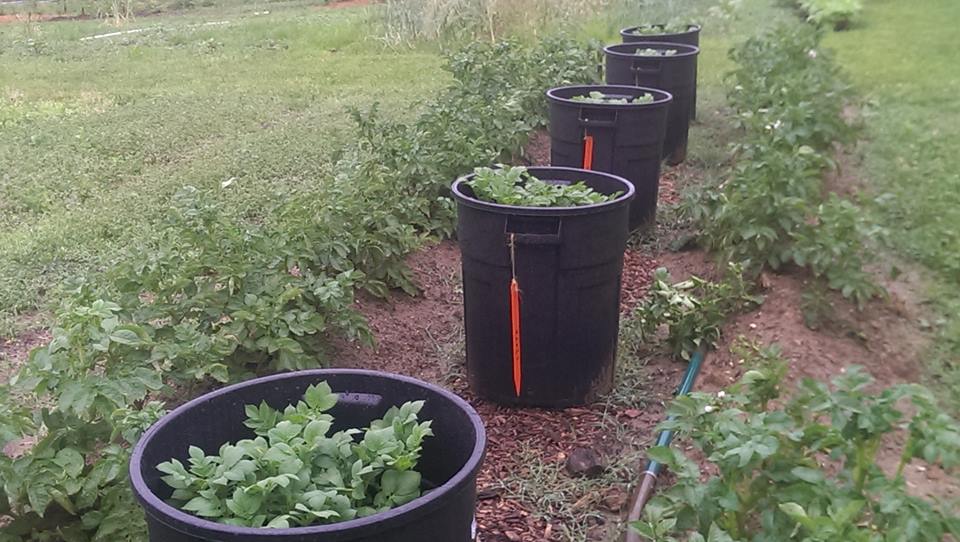
Growing potatoes in a trash can is a simple and efficient way to produce a large crop of potatoes in a small space. This method is perfect for those with limited outdoor space or for those who want to grow potatoes in an urban environment. Here is a step-by-step guide on how to grow potatoes in a trash can:
Trash Can Prep.
Step 1: Choose a trash can. It is best to use a black trash can because it will absorb more heat, which will help to warm the soil and promote potato growth. The trash can should be at least 30 gallons in size and should have a tight-fitting lid.
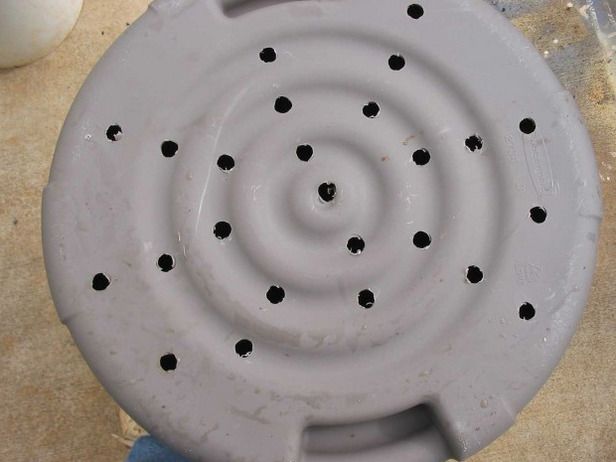
Step 2: Drill holes in the bottom of the trash can. These holes will allow for drainage and will help to prevent the soil from becoming waterlogged. Make sure to drill at least 8 to 10 holes around the bottom of the trash can.
Step 3: Fill the trash can with soil. To grow potatoes in a trash can it is best to use a good quality, well-draining potting mix. Potatoes need a lot of nutrients, so it is recommended to mix in compost or well-rotted manure to the soil.
Planting Seed Potatoes.
Step 4: Plant the seed potatoes. Potato seed potatoes should be planted 2-3 inches deep in the soil, with the “eyes” facing up. Space the seed potatoes about 6 inches apart in trash can.
Watering Your Potatoes.
Step 5: Water the trash can. Water the soil thoroughly to ensure that it is evenly moist. Keep the soil consistently moist during the growing season, but be careful not to over-water.
Potato Soil Tip.
Step 6: Add more soil as the plants grow. As the potato plants grow, add more soil to the trash can to cover the emerging leaves. This is called “hilling” and it will help to keep the developing potatoes covered and protected from sunlight. Keep adding soil until the trash can is almost full.
Potato Pests.
Step 7: Keep an eye out for pests and diseases. Potatoes are susceptible to pests such as potato beetles and aphids, as well as diseases such as late blight. If you notice any pests or diseases, take action immediately to prevent them from spreading.
Harvesting Time.
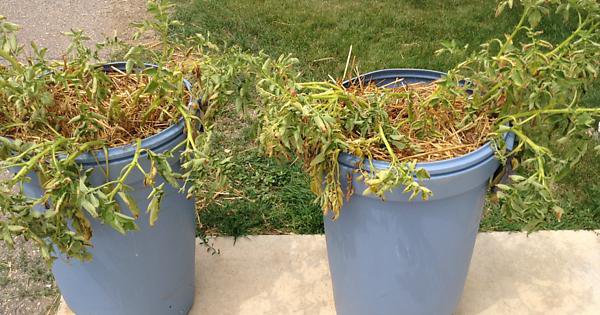
Step 8: Harvest the potatoes. Potatoes are ready to harvest when the leaves begin to yellow and die back. Carefully dig through the soil to find the potatoes, being careful not to damage them.
Growing potatoes in a trash can is a great way to produce a large crop of potatoes in a small space. It is easy, efficient and a great way to use a trash can. This method can be done in a balcony, terrace, or even in a small garden. Potatoes are a great addition to any meal, and by growing your own you can enjoy fresh, healthy, and delicious potatoes straight from your own garden.
What To Look Out For.
A few things to keep in mind when growing potatoes in a trash can:
- Use seed potatoes that are certified disease-free
- Potatoes are heavy feeders, so make sure to amend the soil with compost or well-rotted manure before planting
- Keep the soil consistently moist, but not waterlogged.
- Potatoes are a cool-season crop, so it’s best to plant them in the spring and harvest them in the fall.
- It’s important to keep an eye out for pests and diseases, as they can quickly spread and ruin your crop
- Potatoes are ready to harvest when the leaves start to yellow and die back. Carefully dig through the soil to find the potatoes, being careful not to damage them.
Time From Planting Until Harvest Explained.
The duration of time between planting potatoes and harvest time can vary depending on the variety of potato being grown and the growing conditions. On average, it takes about 75 to 120 days for potatoes to reach maturity and be ready for harvest. This can range from as little as 60 days for some early varieties to as long as 150 days for some late-maturing varieties.
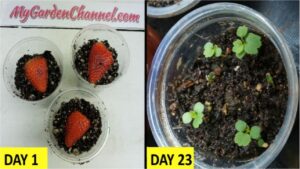
The potato plant will begin to produce small, immature tubers (potatoes) around 4 to 6 weeks after planting. These tubers are not yet ready to be harvested, but they will continue to grow and mature over the next several weeks. As the plant grows, it will produce more tubers that will also mature.
Timing Of The Harvest.
The timing of the harvest will depend on the variety of potato being grown and the intended use. Some varieties are best harvested as new potatoes, when the tubers are small and have a thin skin. These varieties are typically harvested around 60-70 days after planting. Other varieties are best harvested as mature potatoes, when the tubers are larger and have a thicker skin. These varieties are typically harvested around 110-120 days after planting.
Harvest Time Factors.
It’s important to note that the duration of time between planting and harvest time can be affected by several factors such as climate, soil, and weather. Potatoes are a cool-season crop, so it’s best to plant them in the spring and harvest them in the fall. However, in some regions with a milder climate, they can be planted in the fall and harvested in the spring.
To determine when your potatoes are ready to harvest, you can check the leaves of the plant. When the leaves begin to yellow and die back, the tubers are likely mature and ready to harvest. Carefully dig through the soil to find the potatoes, being careful not to damage them.
Trash Can Potatoes Yield.
According to the amount of trash cans and seed potatoes planted, by using this method, you can grow hundreds of pounds of potatoes. 50 pounds of potatoes can be harvested from a 50 gallon trash can.
Conclusion.
By following these steps, you can easily grow a bountiful crop of potatoes in a trash can. This method is perfect for those with limited outdoor space or for those who want to grow potatoes in an urban environment.