
The key to growing hydrangeas is keeping them moist so the stems will grow roots. There is a certain time of the year that you will have the best success and that is when the plant actively growing. The cutting you want is from the new growth or this years stem. This will give you the best chance to get a new hydrangea from a cutting.
Step By Step Instructions Growing Hydrangeas From Stem Cuttings
- Timing: The best time to take hydrangea cuttings is in the spring or early summer when the plant is actively growing.
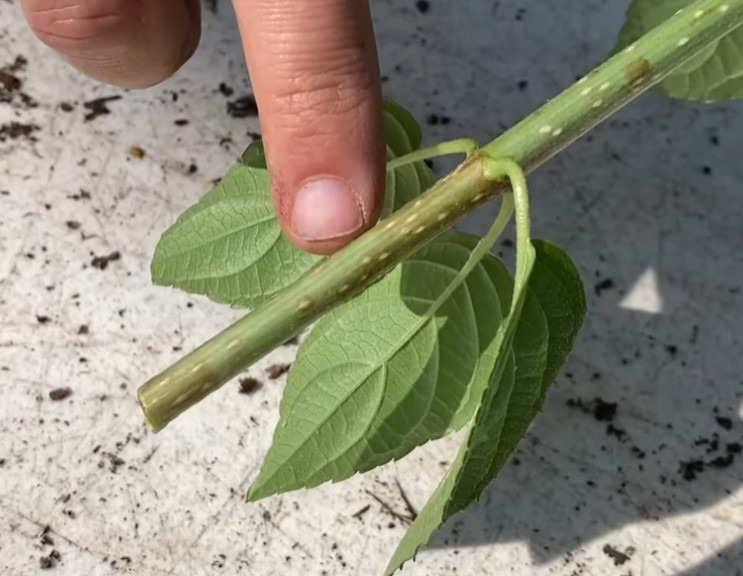
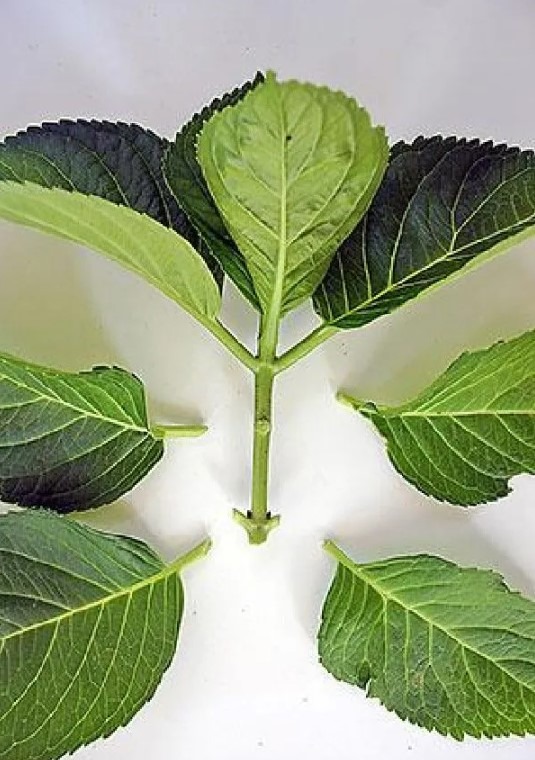
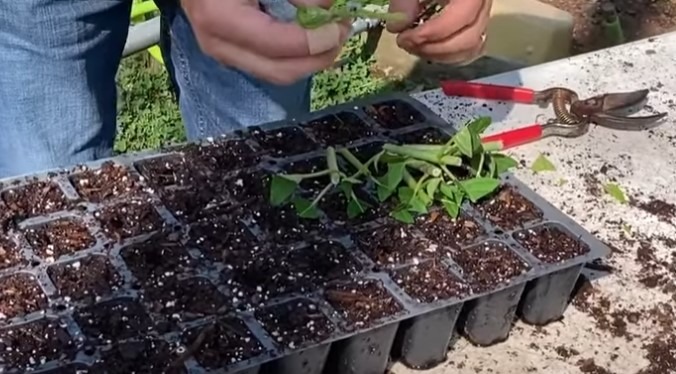
- Selecting a healthy plant: Choose a healthy hydrangea plant with vigorous growth. Look for stems that are not flowering and are about 4-6 inches long.
How To Prepare Your Cuttings To Plant
- Preparing the cuttings: Using a sharp, clean pair of pruning shears, make a clean cut just below a leaf node (the point where a leaf is attached to the stem). Remove any lower leaves, leaving only a few leaves at the top.
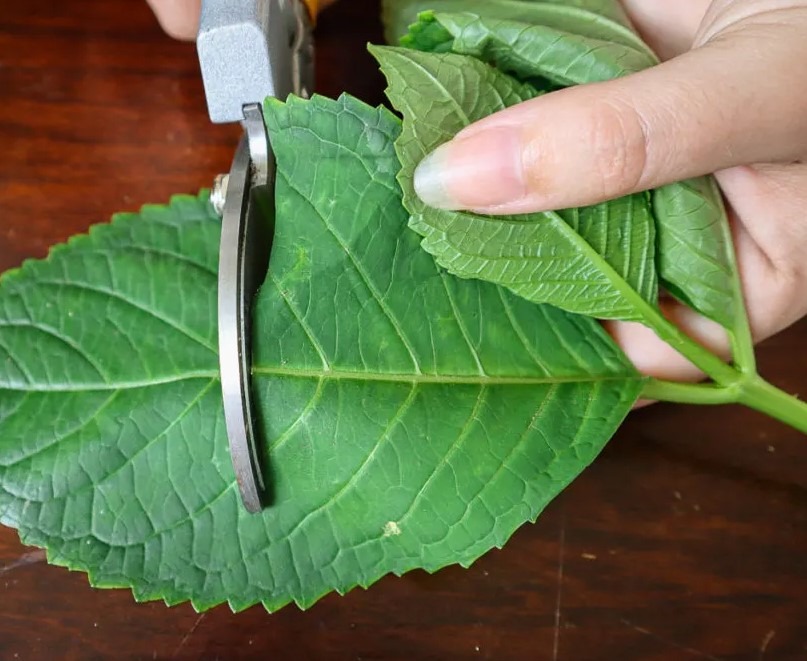
Trim Your Hydrangeas
It helps to trim the leaves so the plant isn’t trying to keep the entire leaf alive. By trimming the leaves it helps the hydrangea cutting to conserve water.
What Type Of Soil For Hydrangea Cuttings?
- Rooting hormone (optional): Although not necessary, using a rooting hormone can increase the chances of successful rooting. Dip the cut end of the stem into a powdered or gel rooting hormone.
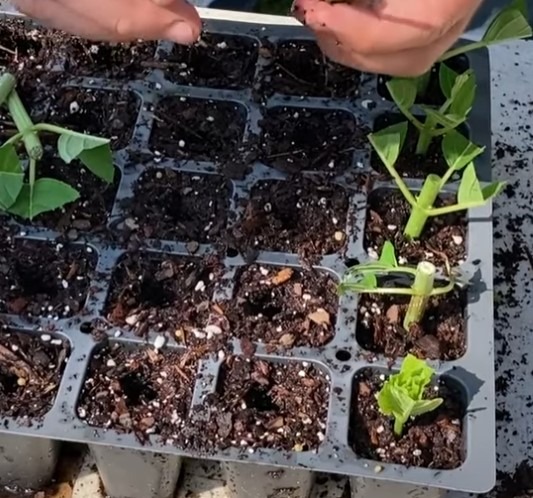
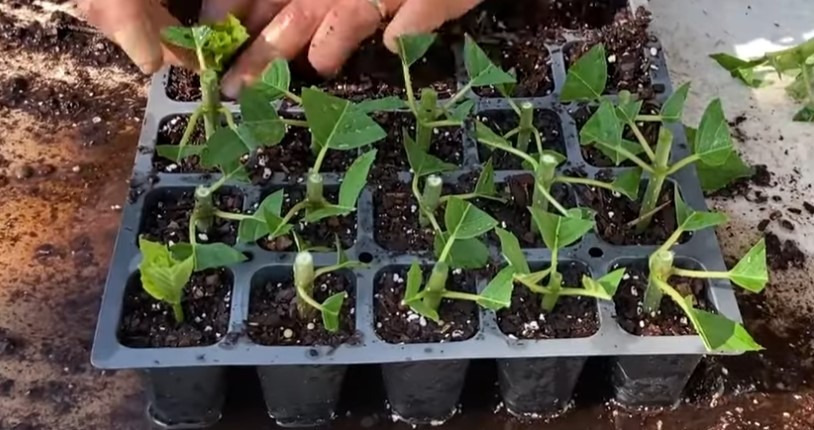
- Potting medium: Fill a small container or pot with a well-draining potting mix. You can use a mixture of peat moss and perlite or vermiculite.
- Planting the cuttings: Make small holes in the potting mix and gently insert the cuttings into the holes. Plant them deep enough so that at least one leaf node is buried in the soil. Firmly press the soil around the cuttings to ensure good contact.
Watering Your Cuttings
- Watering: Water the cuttings thoroughly after planting, ensuring the soil is evenly moist but not waterlogged. Maintain proper moisture levels throughout the rooting process. You can place a timer on a hose with a mister to make sure the hydrangea cuttings are getting their water.
- Creating a greenhouse effect: Cover the pot or container with a clear plastic bag or a plastic dome to create a greenhouse-like environment. This will help retain moisture and create a humid atmosphere, promoting root growth.
- Providing indirect light: Place the container in a location with bright, indirect light. Avoid direct sunlight, as it can be too harsh for the delicate cuttings. A shaded area is a must for less stress.
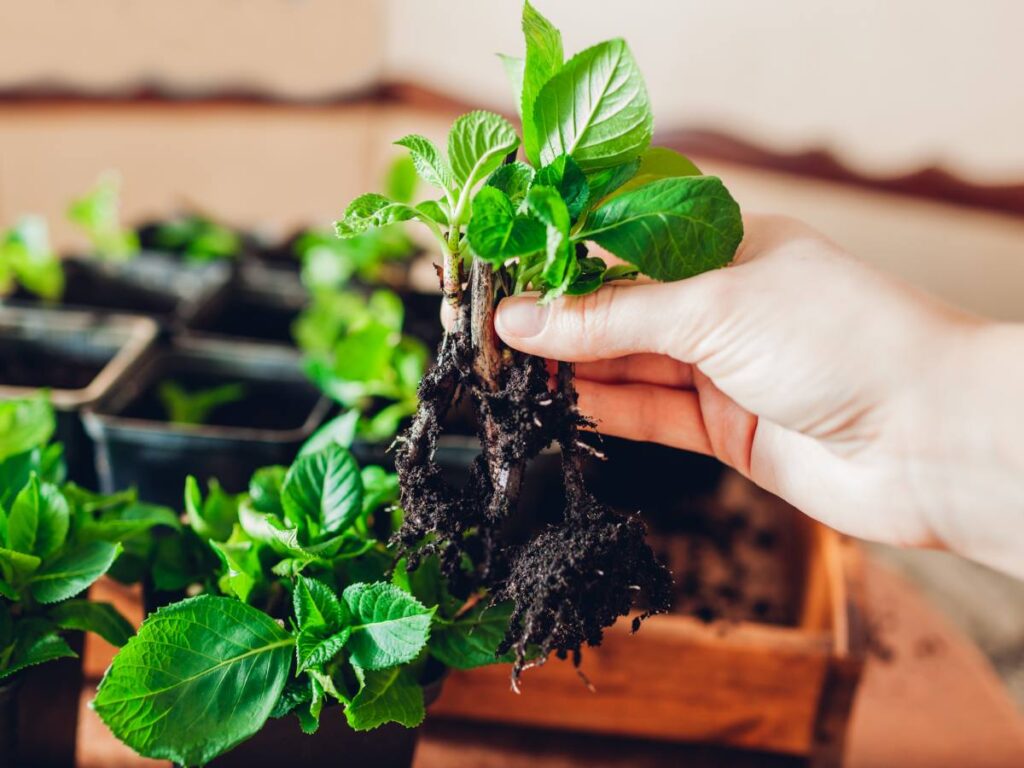
- Monitoring and care: Check the cuttings regularly for moisture levels and remove any condensation from the plastic cover to prevent fungal diseases. After a few weeks, gently tug on the cuttings to check for resistance, indicating root growth.
How To Transplant Your Rooted Hydrangea Cuttings
- Transplanting: Once the cuttings have developed a healthy root system (usually after several weeks to a couple of months), they can be transplanted into larger pots or directly into the garden. Ensure the new location offers appropriate sunlight, soil, and spacing for the specific hydrangea variety.
Remember, growing hydrangeas from cuttings can be a bit challenging, and not all cuttings may root successfully. However, with proper care and patience, you can increase your chances of success. Good luck with your hydrangea propagation!
Growing Hydrangeas In Water
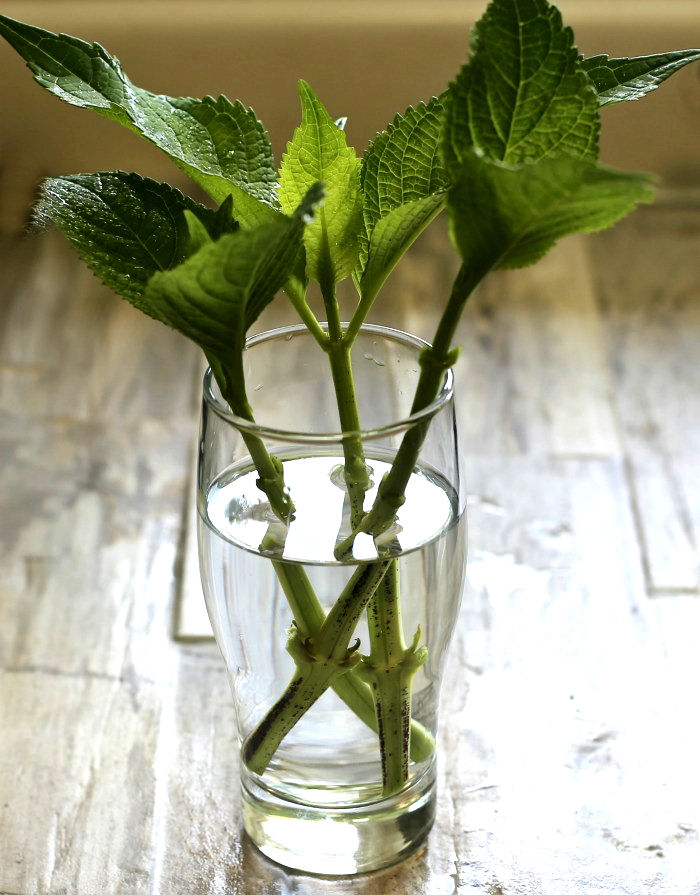
Some hydrangeas you can simply put into water and they will root. Give it a shot! Roots will take some time to develop over a couple weeks. Change the water out every few days.
Best Time To Grow Hydrangeas
The best time to grow hydrangeas can vary depending on the specific type of hydrangea and the climate in your region. Generally, the ideal time for planting hydrangeas is in spring or fall when the temperatures are mild, and the soil is workable.
Here are some guidelines for planting hydrangeas based on different types:
- Bigleaf Hydrangeas (Hydrangea macrophylla): These hydrangeas are the most common variety and are known for their large, rounded flower clusters. It is best to plant them in spring after the threat of frost has passed. Fall planting is also possible, allowing the roots to establish before winter.
- Panicle Hydrangeas (Hydrangea paniculata): These hydrangeas have elongated flower clusters that start off white and turn pink or even dark red as they mature. Panicle hydrangeas are more tolerant of varying climates and can be planted in both spring and fall.
- Smooth Hydrangeas (Hydrangea arborescens): Known for their large, rounded, white flower heads, smooth hydrangeas are hardy and adaptable. They can be planted in spring or fall, but it is essential to ensure they have enough time to establish before the onset of extreme temperatures.
- Oakleaf Hydrangeas (Hydrangea quercifolia): Oakleaf hydrangeas feature cone-shaped flower clusters and distinctive lobed leaves that resemble oak leaves. They are also tolerant of different climates and can be planted in spring or fall.
When planting hydrangeas, it’s important to choose a location with well-draining soil and adequate sunlight. Most hydrangeas prefer morning sun and afternoon shade, especially in hot climates. Ensure the planting hole is large enough to accommodate the root ball, and water the plant thoroughly after planting.
Remember to provide regular watering during the growing season, especially during hot and dry periods. Mulching around the base of the plant can help conserve moisture and regulate soil temperature.
By considering the specific type of hydrangea and the local climate conditions, you can determine the best time to plant and grow hydrangeas in your area.
